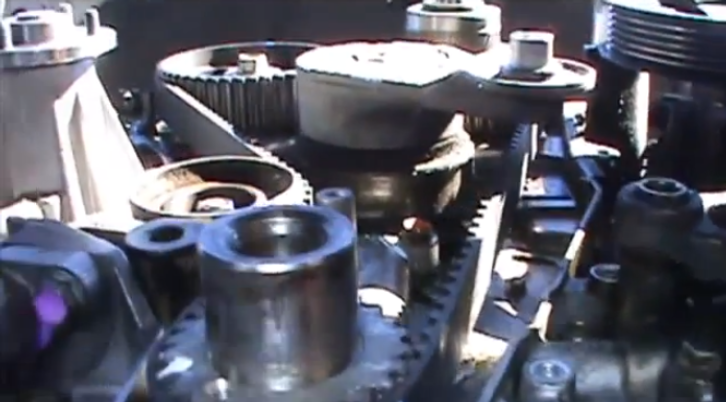
Replacing the timing belt and water pump on your first generation Lexus IS is a pretty complicated job and you have to be extra careful with the timing system not to upset its settings and damage the engine.
You’re gonna need a 3/8” ratchet, 1/2” breaker bar, a pry bar or SCH64300 special tool and a complete set of sockets and wrenches. Here are the main steps to follow:
Water pump
Timing Belt
See the video bellow for more info.
This is a DIY guide and, as such, you must be aware the procedures described here involve some risks. autoevolution cannot be held responsible for any possible damage that might result while following this guide.
Water pump
- Let the engine cool off of you have used the car
- Remove the radiator assembly to have more space for the main job
- Loosen the 4 nuts holding the water pump pulley attached to the pump
- Loosen the drive belt tensioner by turning the it clockwise and remove the drive belt
- Remove the 4 nuts and take out the water pump pulley
- Now, remove the timing belt and idler pulley
- Take out the water bypass outlet, water inlet and thermostat
- Remove the water pump
- Install the new pump and put back the other parts.
Timing Belt
- Let the engine cool off
- Remove engine under cover
- Drain engine coolant and remove radiator
- Remove drive belt tensioner absorber
- Remove drive belt
- Take out PS Pump and front bracket
- Remove no.3 and 2 timing belt cover
- Remove drive belt tensioner
- Loosen crankshaft pulley bolt
- Set no.1 cylinder to about 60 degrees/BTDC compression
- Remove timing belt from camshaft timing pulleys
- Remove exhaust camshaft timing pulley
- Take out engine cover and remove throttle body and intake air connector assembly
- Remove no.1 cylinder head cover
- Remove camshaft timing oil control valve
- Disconnect no.1 oil pipe
- Remove VVT-i pulley
- Remove crankshaft pulley
- Remove no.1 timing belt cover and guide
- Remove timing belt
- Remove idler pulley and crankshaft timing pulley
- Install the new parts following the steps in reverse order.
See the video bellow for more info.
This is a DIY guide and, as such, you must be aware the procedures described here involve some risks. autoevolution cannot be held responsible for any possible damage that might result while following this guide.

